Wow, it has been over a year since I last updated this blog! Life has been pretty busy and blogging just fell by the wayside unfortunately. BUT - I am back :-) I intend to start blogging again, not daily, but hopefully at least twice a week.
It's Sale-a-bration time right now so I thought I would start with the make'n'take project from my last couple of workshops:
I've used the new Designer Series paper which you can receive for FREE during Sale-a-Bration. Simply place a $100 order to choose it as your free gift. There are other free gifts available to choose from too. Check out the brochure
HERE.
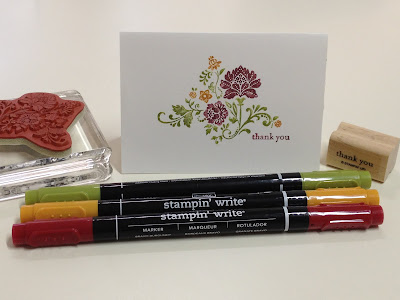
Stamps: Pretty Postage (available in the Summer Mini catalogue)
Ink: Poppy Parade
Paper: Lucky Limeade, Pool Party, Very Vanilla, Everyday Enchantment DSP
Accessories: Everyday Enchantment Ribbon and Brad Pack (another free gift from Sale-a-Bration)
Tools: Big Shot and Perfect Polkadots embossing folder, 1 inch square punch, postage stamp punch and scallop square punch.
If you would like to learn to make this card, please contact me to book a free workshop. :-)
I also made some little paper samplers so that my friends and customers can see the beautiful Designer Paper in person - it always look so much nicer in real life than the picture in the brochure. I used the Two Tags Die on my big shot as well as the matching brad and ribbon pack. These 2 pictures show the front and back sides of the sampler.